So you have found your way down the junk journal rabbit hole, eh? I remember not too long ago being there myself. It was like discovering a glorious secret new craft clubhouse filled with wonderful paperie, ink and lace being shown off by a fun group of crafters who could very well be my best friend forever.
Do you feel the same way?
I recall stumbling upon a few YouTube videos by Gayle Agostinelli and Traci Fox back in early 2019 and binge watching them for hours one weekend. I was hooked! I was excited to jump right in and started making my first journal using some supplies I had around along with some packaging and other items I retrieved from the recycle bin.
It was a lot of fun, but I soon realized that there is far more to it than what I first saw on the surface.
There were so many supplies these ladies were using, and though I have been crafting for years, it seemed quite overwhelming that I might have to buy so many of these fancy tools and glues and paper kits.
Then, I also started learning a brand new junk journal language and had to figure out what ephemera, fussy cutting, a pamphlet stitch, and lapbooks were. I was so excited, but definitely a little intimidated once I got working on my first junk journal. They made it look so easy and after a few journals it did get easier, but I sure wish I knew then what I know now.
I’ve been making my own handmade journals and creating video tutorials for over 2 years (wow, I really can’t believe it’s been that long) and I have learned a lot, most importantly, that I didn’t really need all those fancy crafting supplies and tools to get started…and neither do you.
To hopefully take away some of that overwhelm, I put together a list of some of my must-have junk journal supplies for beginners. This list includes the bare basics I feel anyone needs to get started. Most of these you probably already have, some you can find at second hand shops, and some you may want to buy. I have also included some items that are my ‘nice-to-have’ items which I found make my junk journaling a lot easier and a bit more fun, but are not necessary if you are a beginner. If you want to see even more items, check out my “Favorite Things” for junk journals and other paper crafts.
Alright, let’s get on with the list…
(note: This list includes affiliate links. If you purchase an item through my affiliate link, it does not cost any more to you, however, I will receive a small commission on that purchase. This is a great way to support me as well and it allows me to spend more time making YouTube tutorials and supplies for you. Read more under my Privacy Policy.)

I recommend gathering papers of different weights and colors to use in your journals so you can get a feel for what you like and how they fit together in a journal. I love the look and feel of different papers in my junk journals and I am always experimenting with items I find. don’t get hung up on the print when you start. You can always use paint, gesso, or other paper to cover over anything you don’t like on your papers.
If you do want to start with fresh paper and are wondering what works well, these below are my go-to papers for printing on with my epson inkjet printer. Amazon basics copy paper and Neenah cardstock.


Most everyone has scissors. If you have a pair that cuts paper well, use those when you are first starting out. I would not recommend using scissors that you also cut fabric with in this case as the paper will dull them over time. If you have a paper trimmer or guillotine style paper cutter, you’re a step ahead and your trimming will go faster (at times), but for fussy cutting, scissors are a must.
I too started with what I had around and as I progressed I upgraded to the Tonic Studios brand scissors. In my humble opinion, these are the best scissors I have ever used and they are easy on the hands which is a BIG plus when you are doing a lot of fussy cutting. They literally made cutting fun. I ended up buying another pair for the junk drawer because they were so amazing to use for general crafting.
I have had the same paper trimmer for years (even before I started this craft) and I love it. It is a very basic fiskars trimmer. I can easily replace the blades on the cheap but they last a long time. It is my go to for trimming and I can even use it for scoring if I need to. I also love my box cutter. I bought it at my local dollar store. It cost me .99¢ and I’ve been using the same one for about 6 months now. It is often easier for me to cut a straight line as this is nearly impossible for me with scissors =)
Finally, I often use a metal ruler for tearing paper. It has a cork back for stability and it is a quick way I trim paper from time to time. Plastic will work too but it tends to slide a bit more for me.
If you are interested in the tools I use specifically, here are my 2 favorites for cutting right now, but again, you can just start with what you have.


This seems to be one of those items that everyone asks about, but in the end…glue is glue and most glues work on most things. I have worked with many glues over my years of scrapbooking and paper craft and I always used PVA or standard craft glue. There never used to be so many glues! What a world we live in.
Anywho…the truth is most households have some form of a standard white glue and this is fine to get started. most any white glue or glue sticks will hold paper together. Long-term staying power seems to be why there are so many glues used among paper crafters. Some are better than others and some work better on fabric than on paper. I currently use PVA glue most of the time. It holds quickly, flows beautifully, and has good staying power.
Art Glitter Glue seems all the rage in the junk journal community and I honestly didn’t know it existed until I dove in there. I do like the tip of the AGG but to be honest, it has become more work than any other glue. The tip constantly clogs (even with the pin) because I have more open time than it really allows for. In my opinion, PVA is better. I still use AGG but PVA is now my go to.
I do use a glue stick, but mostly for temp hold before I sew something. UHU sticks are the one I prefer but any glue stick works well for temp hold. I have yet to find a glue stick with any great long-term holding power, so I tend to avoid it outside of the above.
Fabrifix (or a 3-in-1 glue) is my fav for anything fabric or metal, etc. It seems to hold on most non-paper things. It can get a bit messy at times so I use it sparingly. Here are all of my glue favs below. Feel free to drop a comment if you have a great glue you love to use for your paper crafting.


I would consider this an optional item since inking, stamping, and distressing is a matter of personal taste and not everyone uses ink or stamps. I cannot work without distress inks and I prefer the Ranger brand of distress inks and oxides because I have used them now for a long while and love the way they work…but that’s me. You may not like the grungy distressed look and so maybe this isn’t even your thing. My go to is Vintage Photo, Black Soot, and Gathered twigs but I have a range of colors I use now and again.
Before I bought these, I was using a sharpie marker along the edges to bring in some brown or black edging. It works fine and is a budget-friendly option when you are getting started. Old eyeshadows work well too if you want to try techniques and you’re not worried about staying power.
I use other inks for stamping including Stazon, which I love. It will stamp on just about anything and stays there….hence the name. I don’t stamp a whole lot in my journals right now, so my colors are simple; black, brown and red.
Again, Ink is one of those optional items and I didn’t start with any in my stash. If you are interested in using what I use, my favs are below.


 You will need something to bind your journals. There are a number of options here and you’ll end up settling on what you are comfortable with and this will depend on the size of your journals.
I myself prefer bookbinding most of my journals with a 3-hole pamphlet stitch. When I first saw this, I have to admit I was a bit intimidated, but it is honestly super easy once you get the hang of it. It is efficient and holds very well, plus depending on how you bind the edge, you can use the tails to decorate the inside or outside of the spine. Here is the bookbinding kit I bought when I started which I still use today.
I have also stapled and machine sewn smaller journals. Both can be tricky for different reasons. Stapling can be limited by the size of your journal and the size of your stapler. Most staplers do not reach a standard journal’s center so I found that to work only with very small journals. Machine sewing may cause papers to tear as it is literally perforating your paper. So I find longer stitches work best if you go this route.
If you are intimidated by the above, you can just wrap a piece of twine around your spine and slide your journal pages under it. This is a quick and easy way to begin and requires just a small ball of twine. Your pages are also removable in this case so if you mess up a page, you can easily replace it. If you are just getting started, this is a good option.
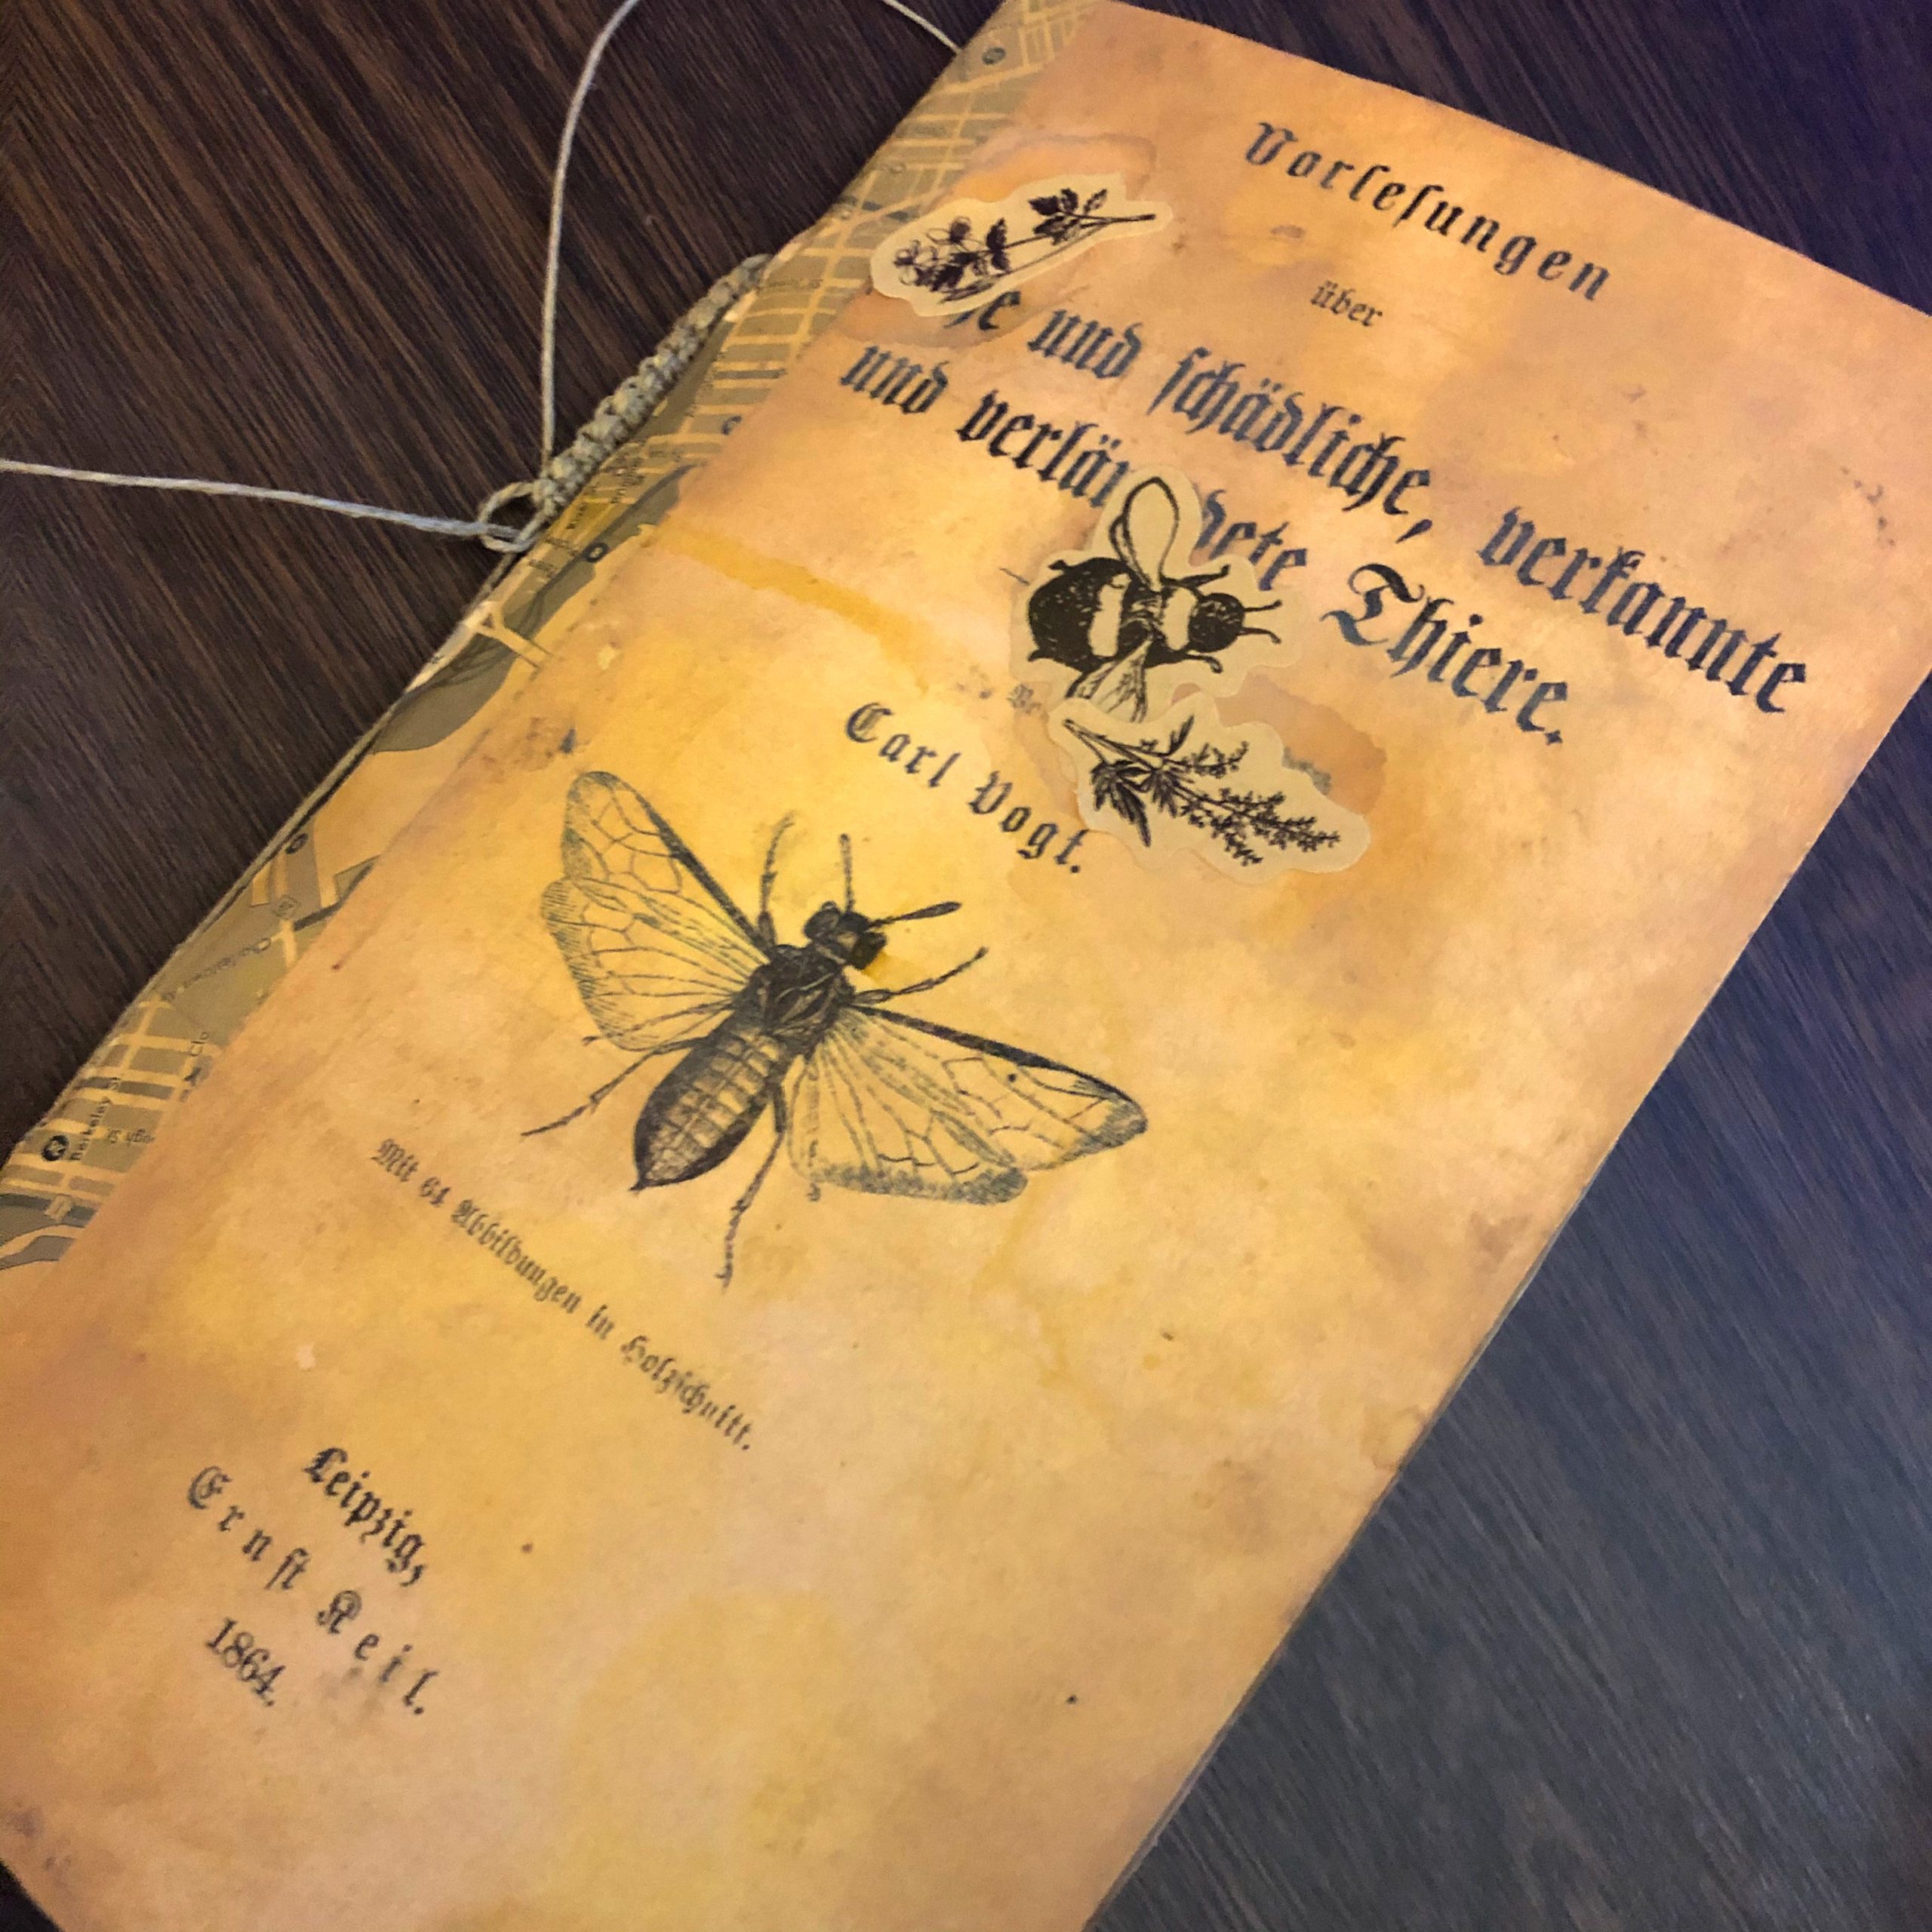
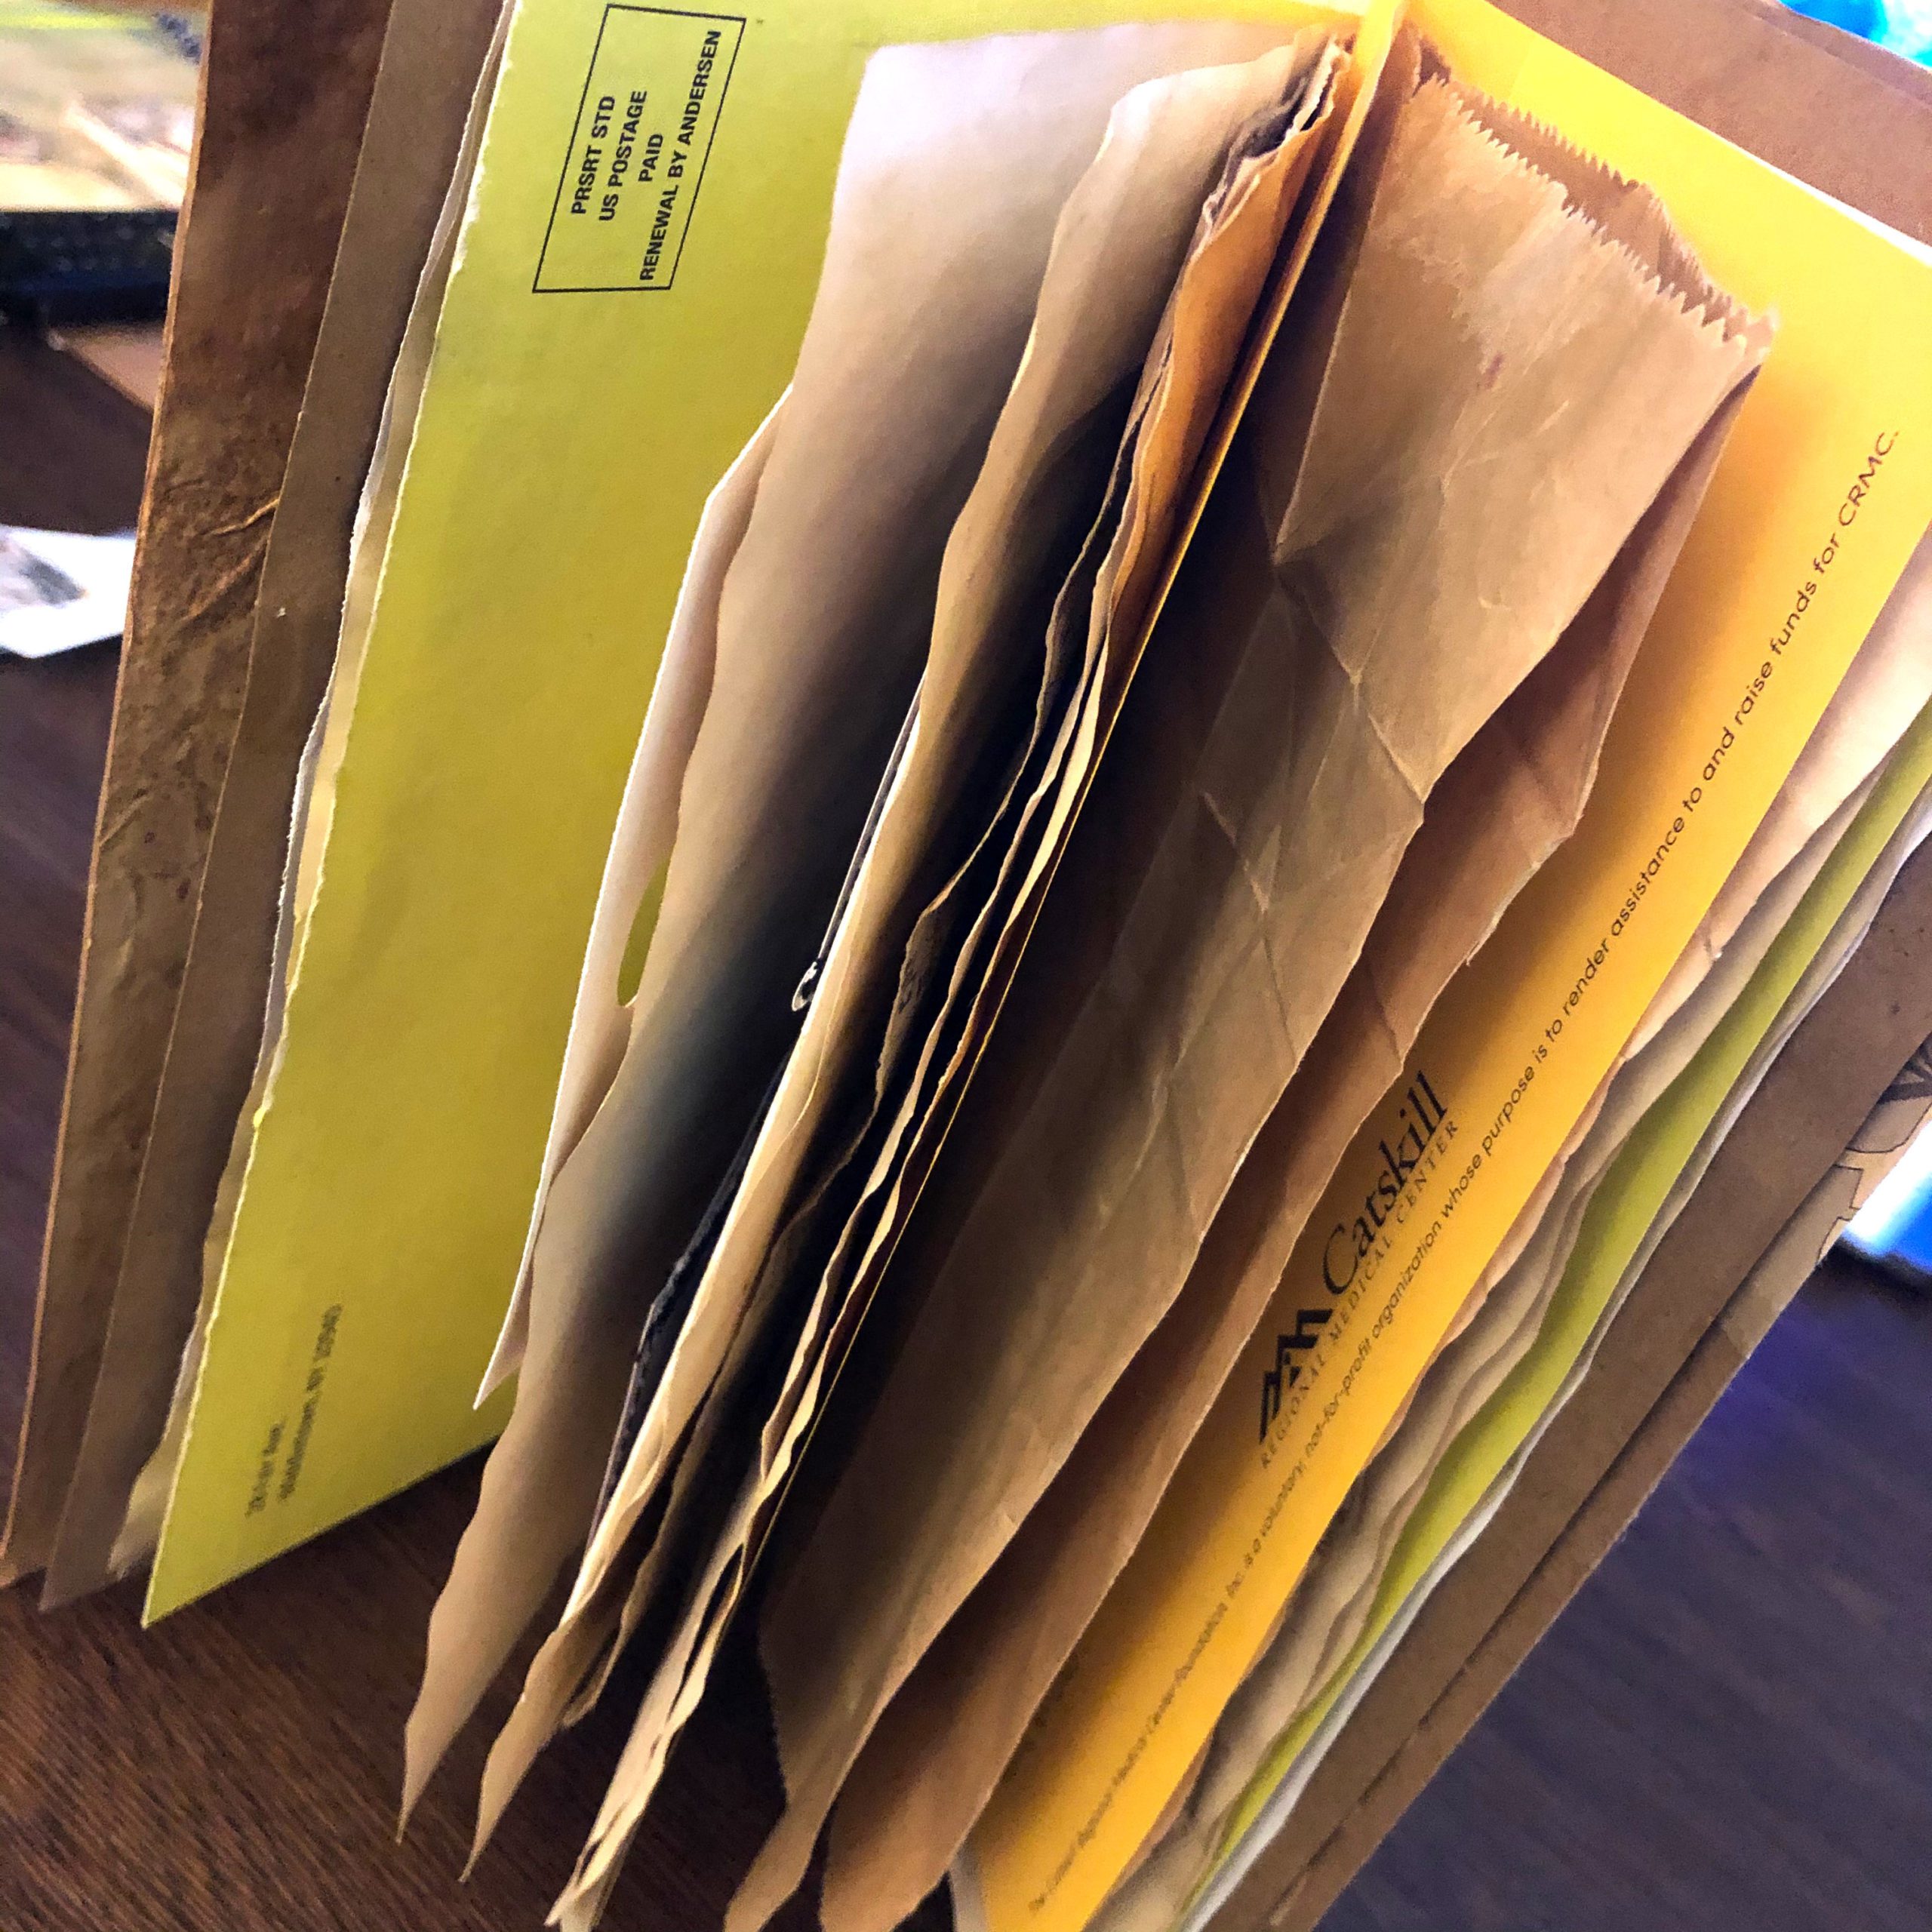
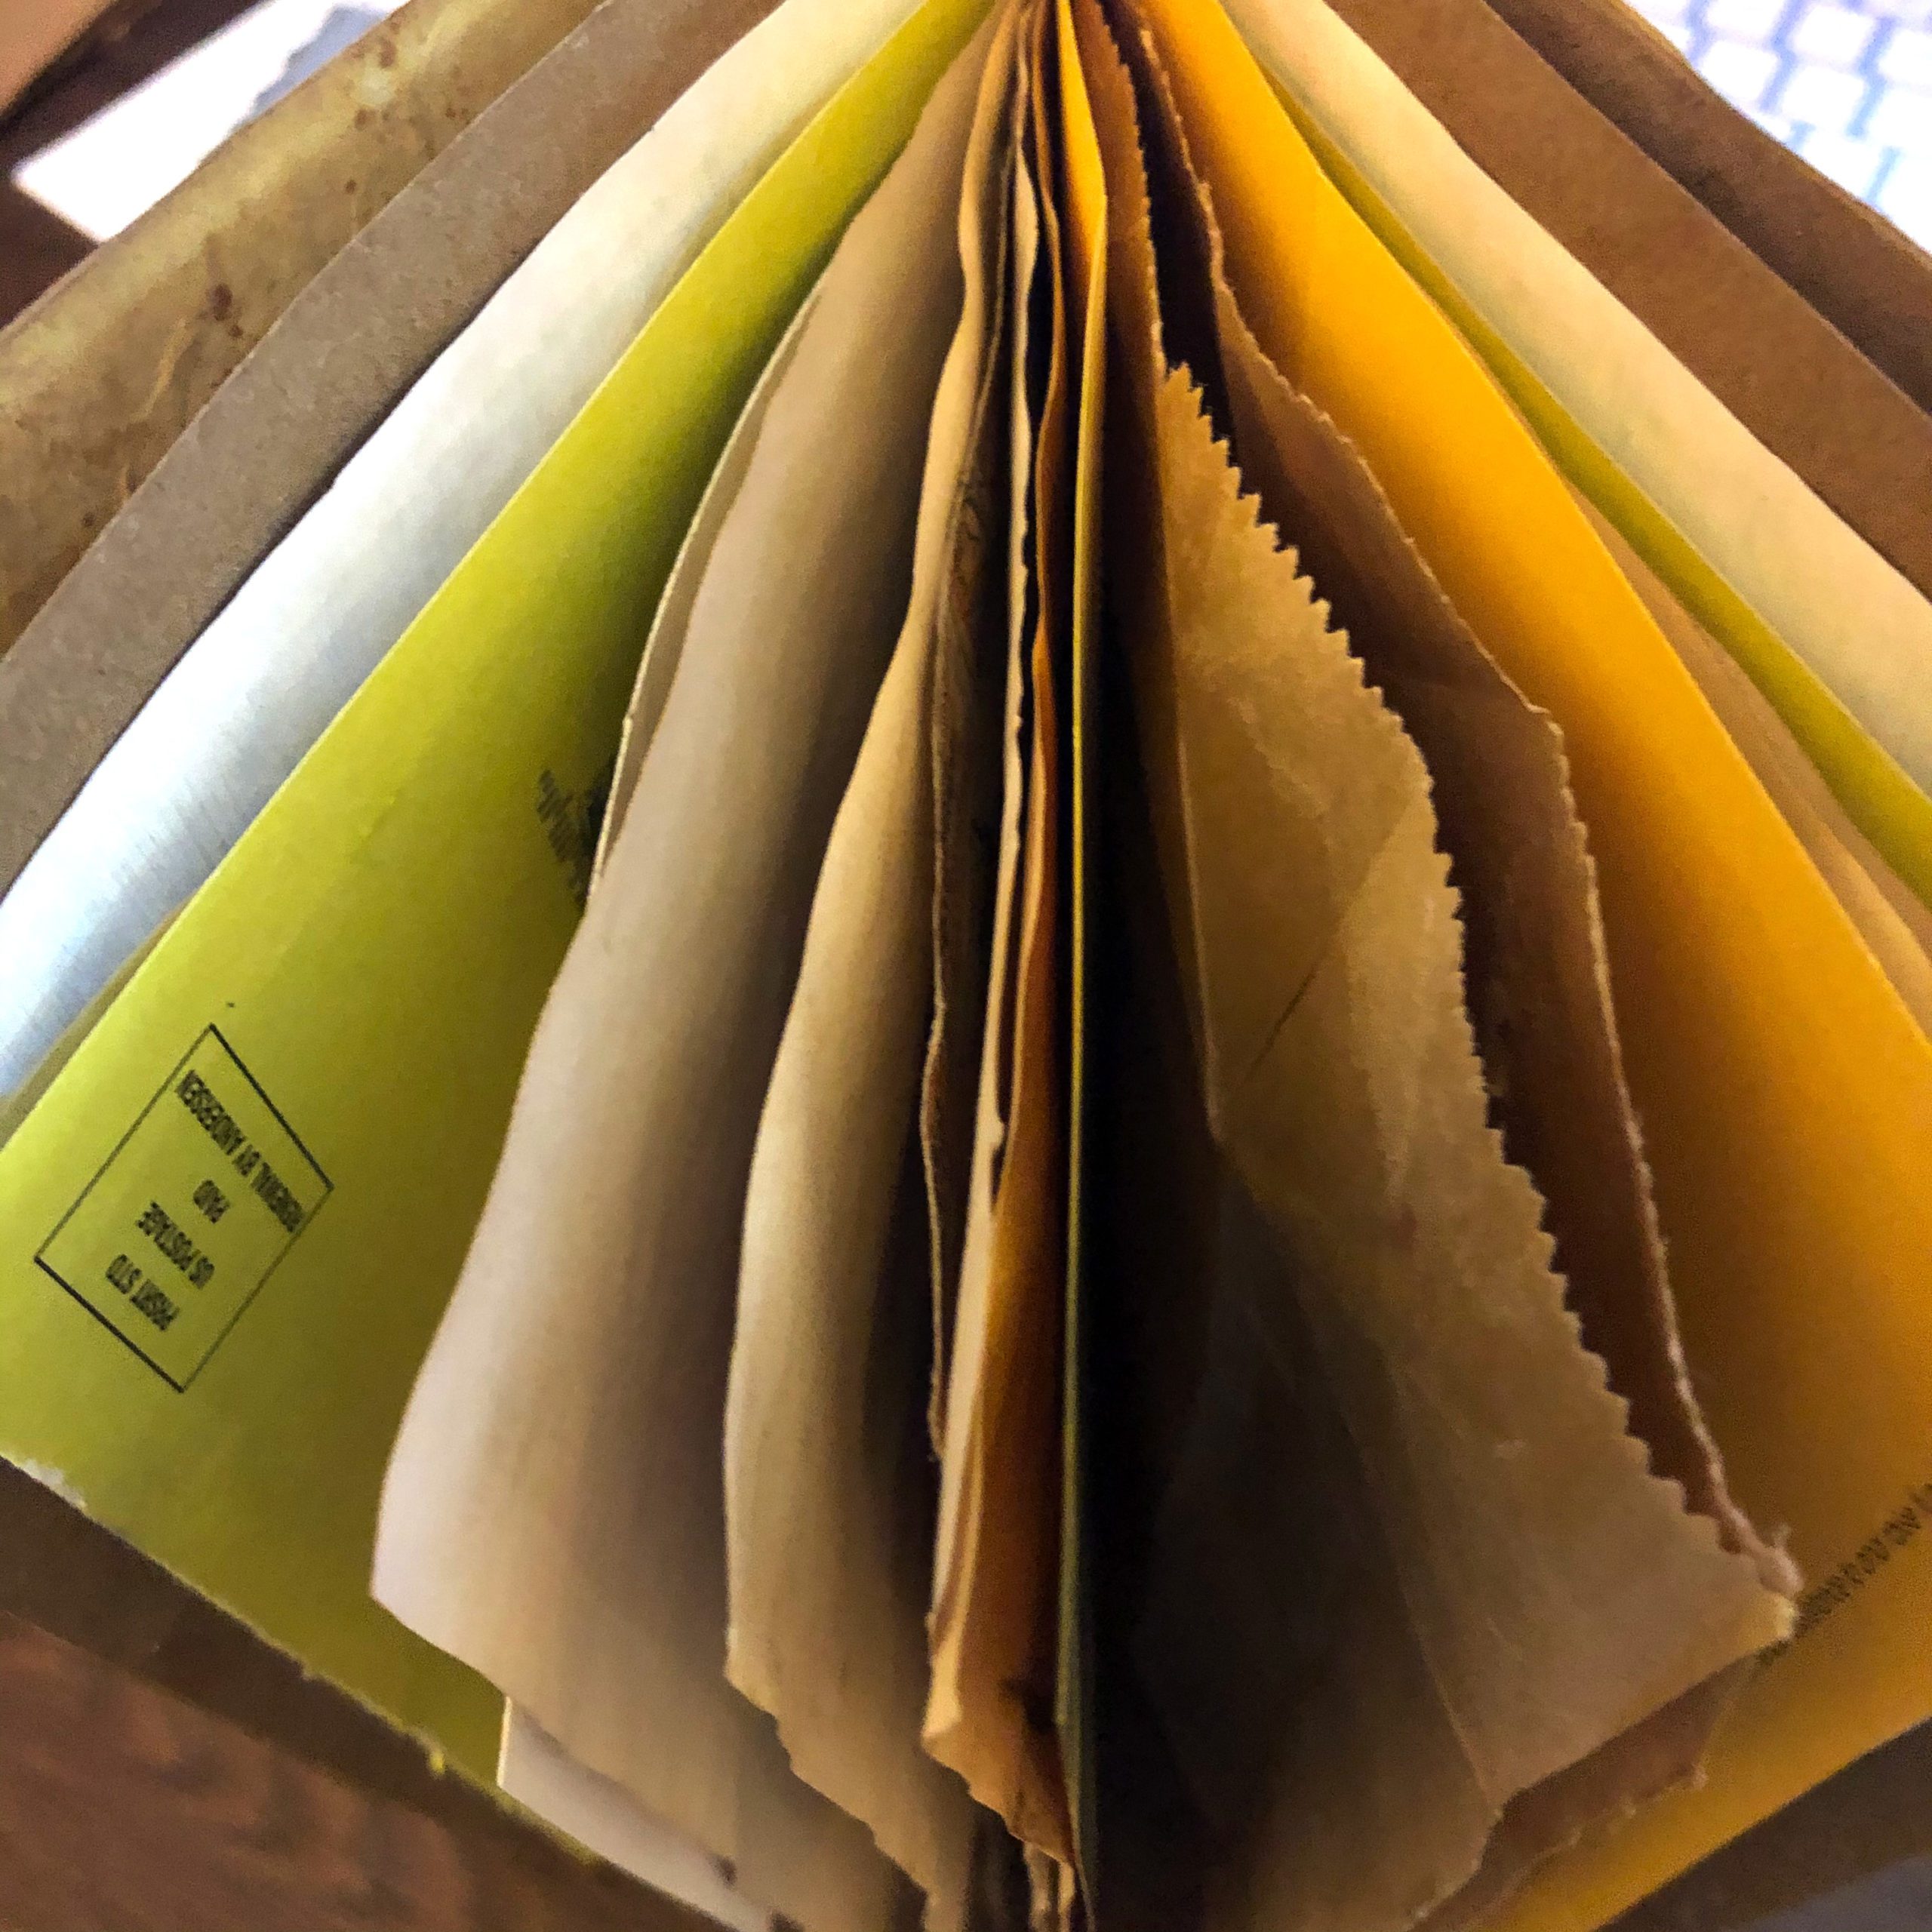
This can get wildly out of control and the options are as infinite as your imagination. When I first started I saw so many digital kits, but I couldn’t swing them at that time, so I didn’t and you don’t need to either. The original junk journals, slam books and glue books were made from junk, memorabilia and misc items found around. Nothing is purchased for decorating.
I used old magazines, catalogs, my kids artwork from elementary school, old books, junk mail and boxes from my pantry items. I had done some scrapbooking and cardmaking so I did have some embellishments around and some stickers so I did use them as well.
If you paint or draw, you can use those mediums to decorate your journals and there is a whole community of people who just create art journals where kits and such are never used.
Over time I did explore and use digital kits and I still do in many of my makes. I personally enjoy the variety and versatility of kits and find I use one kit on many projects so I get a lot of miles out of them, but again these are not needed to get started so don’t feel you can’t start if you cannot afford such things. Just start with what you have.

Here are some alternate tools and supplies I use when creating my journals. Some of these I already had and some I purchased along the way as I felt the need to own them and would get enough use out of them to warrant the purchase.
Fabric and Lace
I already had a ton of this (and still do!) so I didn’t really need to buy much. I did find a great place to purchase offcuts of lace and trims on Etsy. The shop owner makes dresses and often has a variety of trim pieces which work perfectly in my journals. The shop name is MariaSophiaDesigns and I would definitely check it out if you need to start building a stash. I use a lot more fabric in my journals now for covers, pockets and flips. It is a fun way to add a pop of color or texture.
Quilting Rulers
I don’t just use these for fabric. I tend to use these on paper now too. They are see-thru and it makes it easy to measure and cut in one move. I couldn’t find the exact one I use (I have had it for over 20 years), but here is a quilting ruler that is very similar.
Crop-a-dial
I love this tool. I use it all the time! It took some getting used to but once I mastered it, I find it gives me some fun options to add eyelets, snaps and more to my journals. I have a variety of eyelets (aka grommets) I like to use and many came with the crop-a-dial I bought on Amazon. Again, this is a nice-to-have supply and you can simply punch a hole and use a reinforcer or a brad. Which leads me to my next item…
Hole Punches
I have a few. Some are just circles in standard sizes and one is a slot punch style, which I just love. I use these daily for creating confetti from scraps for shaker elements, tags tops, and a host of closures. You may already have one around, so add it to your stash. I also have a bunch of punches with butterflies and such which were left over from my scrapbooking days. I like to use these to punch corners of my journal pages or my tags and pockets. They are just a fun way to add a little extra something to your journals.
Corner Rounder
This is another tool I use multiple times a day when I am making junk journals. I round my tags, pockets, pages and journaling cards. The one I use is from We R Memory Keepers. I got mine at Hobby Lobby, but here is the same one on Amazon.
Paper clips
I like to use these for embellished paper clips in all of my journals. They are a quick way to accent a page and hold in some additional elements or keep flips and flaps in place. If your interested, I have a fun, embellished paper clip tutorial on YouTube.
Alright my crafty friends, this is not a comprehensive list by any means and I could go on and on, but this is a great list for beginners who may be wondering where to start when compiling some junk journal supplies to get started.
I hope you find this list useful and it relieves a bit of stress. Thank you for stopping by.
xo
DJ
ps. If you have a favorite supply or tool, please list it in the comments below. I love to hear about what is working for everyone out there in the creative space. =)
| Cookie | Duration | Description |
|---|---|---|
| cookielawinfo-checkbox-analytics | 11 months | This cookie is set by GDPR Cookie Consent plugin. The cookie is used to store the user consent for the cookies in the category "Analytics". |
| cookielawinfo-checkbox-functional | 11 months | The cookie is set by GDPR cookie consent to record the user consent for the cookies in the category "Functional". |
| cookielawinfo-checkbox-necessary | 11 months | This cookie is set by GDPR Cookie Consent plugin. The cookies is used to store the user consent for the cookies in the category "Necessary". |
| cookielawinfo-checkbox-others | 11 months | This cookie is set by GDPR Cookie Consent plugin. The cookie is used to store the user consent for the cookies in the category "Other. |
| cookielawinfo-checkbox-performance | 11 months | This cookie is set by GDPR Cookie Consent plugin. The cookie is used to store the user consent for the cookies in the category "Performance". |
| viewed_cookie_policy | 11 months | The cookie is set by the GDPR Cookie Consent plugin and is used to store whether or not user has consented to the use of cookies. It does not store any personal data. |